How to Reduce Confetti Stitches in a Cross Stitch Photo Pattern
September 24, 2026
If you've ever stitched a cross stitch photo pattern, you've probably encountered confetti: isolated single stitches scattered across the fabric, each requiring its own thread change, each sitting alone in a sea of a different color. A dense photo pattern can produce hundreds of them. They don't ruin the finished piece, but they slow you down, break your rhythm, and in the worst cases leave small color dots that blur the subject when you step back to look.
Photo2Stitch addresses this at two levels: automatically through the conversion algorithms, and manually through editing tools in the Digital Canvas. This post covers both.
What confetti stitches are
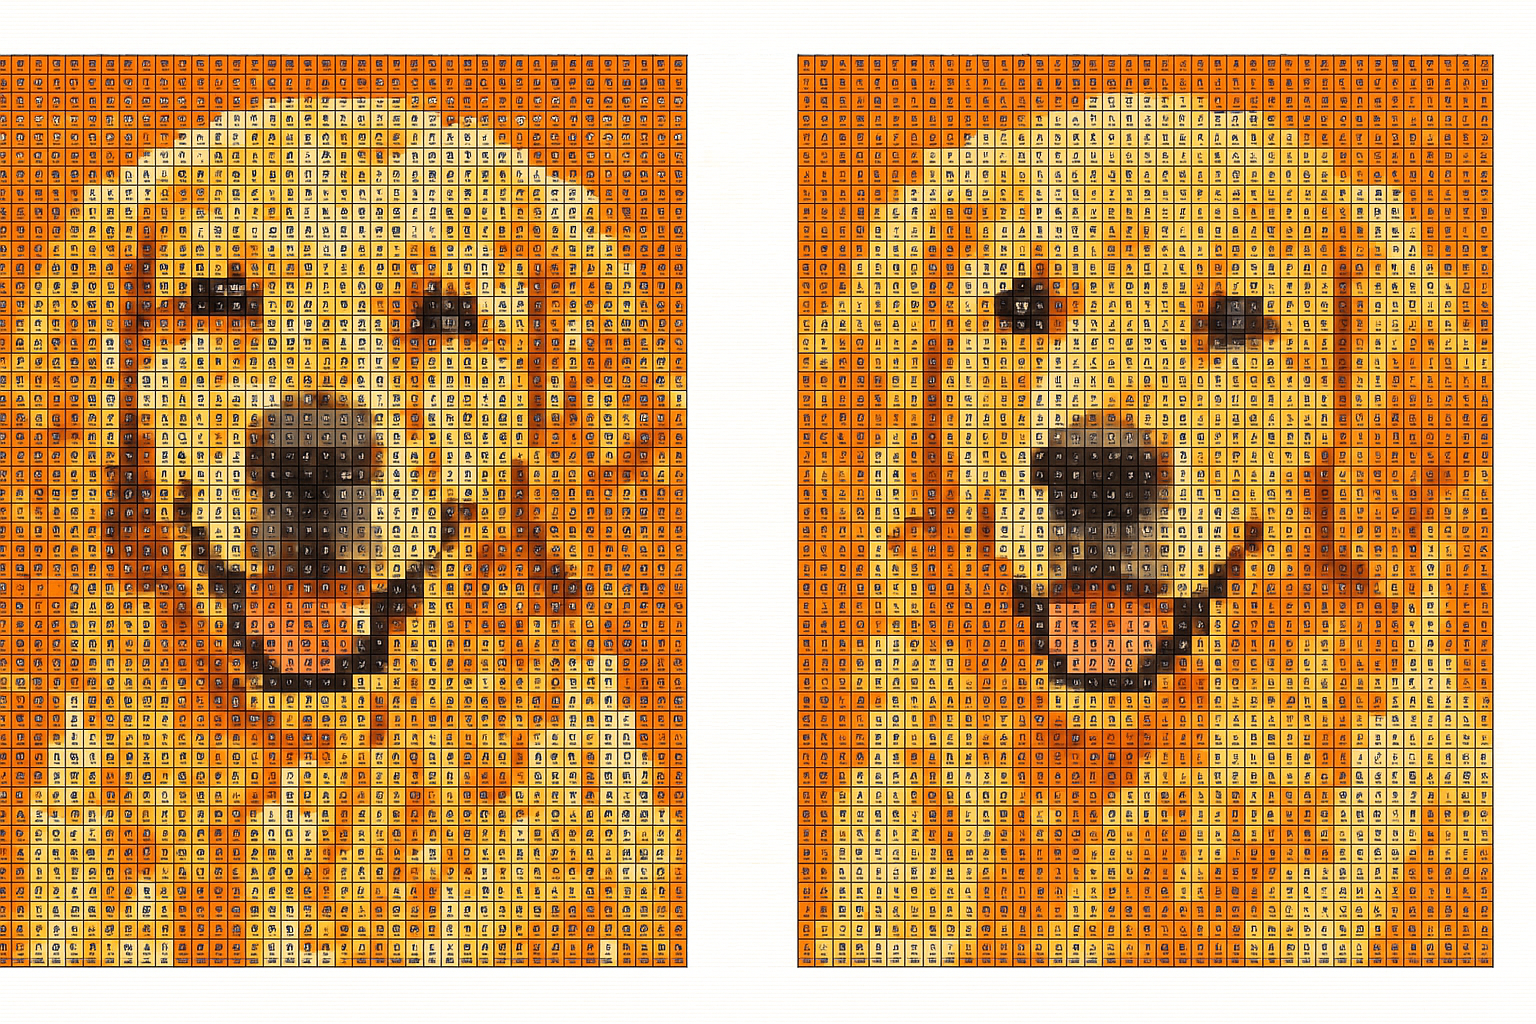
In cross stitch, "confetti" refers to stitches that are completely surrounded by stitches of a different color: no neighbors in the same color, no continuous run to work along. Each one requires you to finish your current thread, bring up a new one, make a single cross, anchor and cut the thread, then resume the previous color. On a dense photo pattern with 30 colors, a confetti-heavy design might have 400 of these situations spread across the canvas.
Some confetti is unavoidable. A photo of a face has genuine single-pixel color transitions: a catchlight in an eye, a sharp freckle, the exact edge where a strand of hair crosses a pale background. Flattening all of those would soften the subject into something that no longer looks like the original photo. The target is removing the confetti that doesn't carry useful information, not eliminating it entirely.
How Photo2Stitch reduces confetti algorithmically
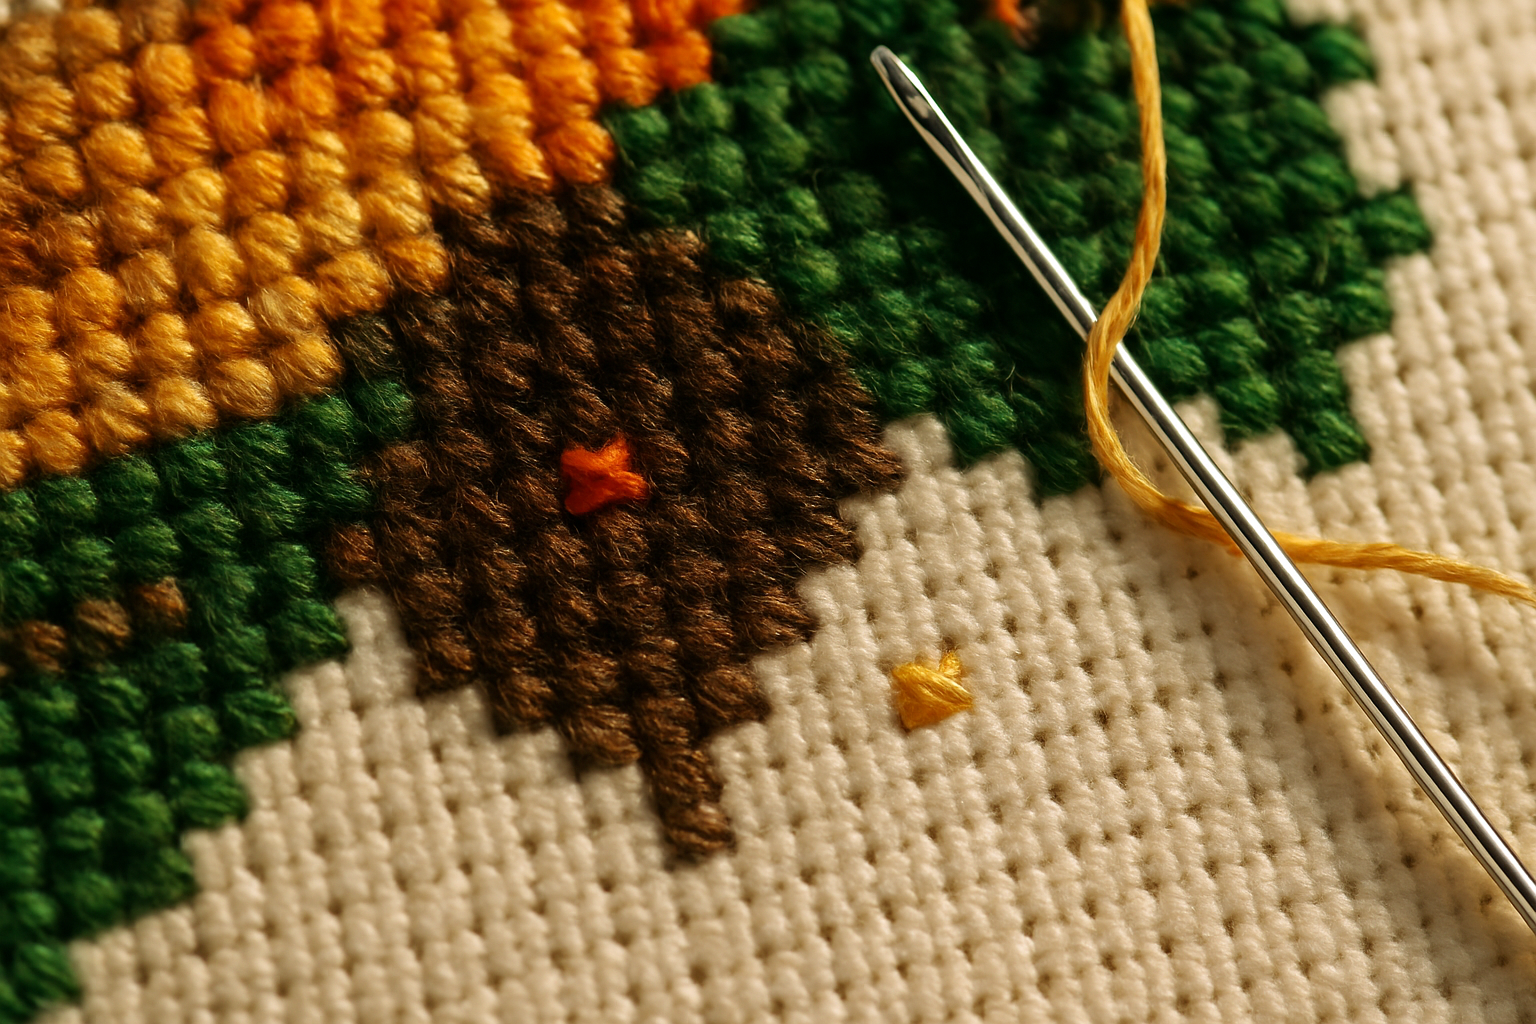
Photo conversion produces confetti because photographs are genuinely noisy at the pixel level. A photo of a golden retriever's fur contains dozens of subtly different amber and brown tones, and when those get quantized to DMC thread colors, the small variations between neighboring pixels often land on different colors. The result is a pattern that's technically accurate to the photo but practically frustrating to stitch.
We developed and tested multiple algorithms to address this, and we're still running experiments. The core approaches we've compared:
Neighborhood consolidation replaces an isolated color with the most common color in its immediate neighbors. It's fast and handles obvious cases well, but apply it too aggressively and you start losing fine detail: a line that's only one stitch wide disappears entirely.
Color distance merging works at a different level. Rather than looking at individual stitches, it identifies pairs of DMC colors that are perceptually very close (measured in CIE L*a*b* space) and merges the smaller one into the larger. A lot of confetti in photo patterns comes from near-duplicate colors landing on adjacent pixels during quantization; removing those duplicates eliminates the confetti as a side effect while also bringing the total thread count down. The limitation is that it's too blunt for faces, where those subtle tone distinctions are exactly what preserves likeness.
Region-aware smoothing combines both ideas selectively, applying heavier consolidation in backgrounds and plain areas where detail loss doesn't matter, and a lighter touch around the subject's face and other high-frequency regions. This is the approach currently in use.
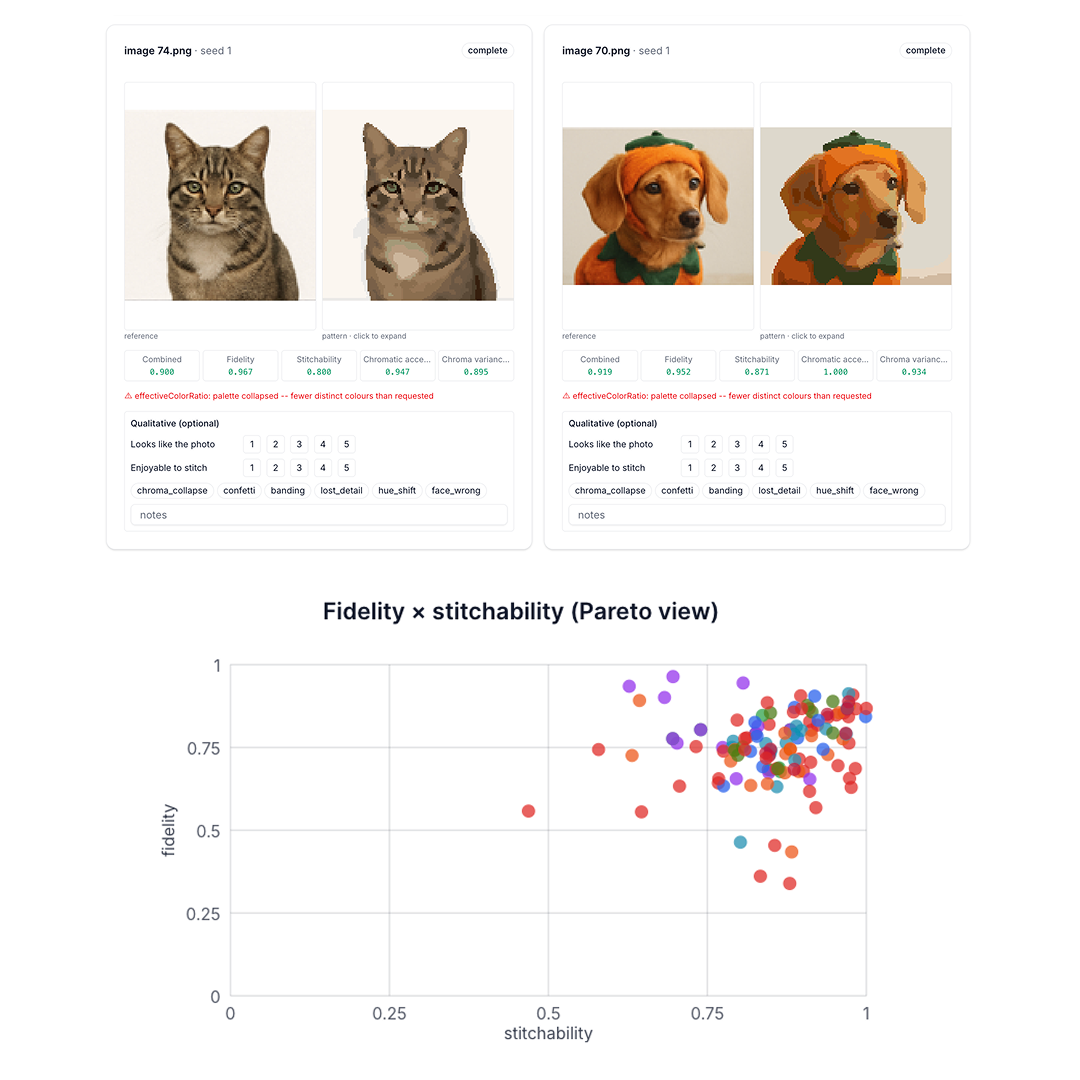
We compare candidate algorithms against a set of test photos using a scoring system that weighs confetti density, color-run length (longer runs = easier to stitch), total thread changes, and a perceptual similarity metric against the source photo. An algorithm that scores well on stitchability but scores poorly on likeness doesn't make the cut.
The screenshots below show example scoring results across algorithm versions for the same set of test photos, the kind of comparison we ran when selecting the current default.
Reading confetti density in the pattern preview
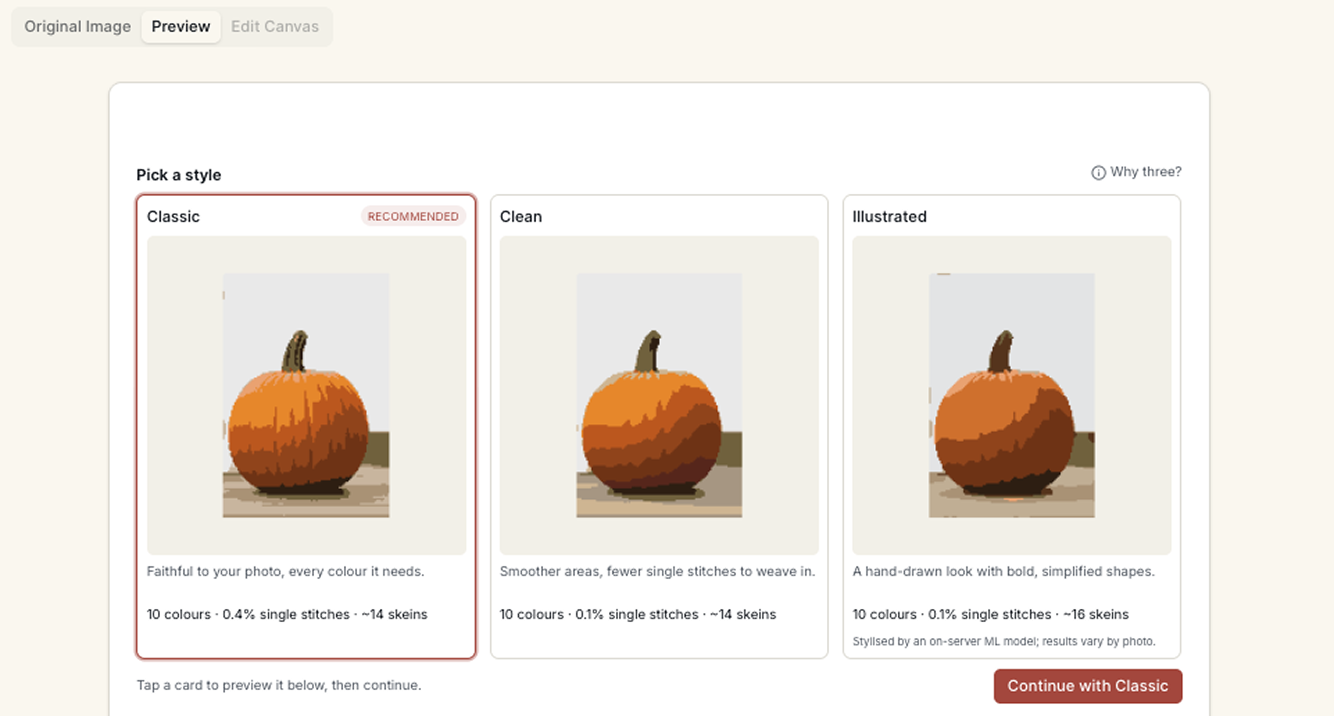
Before you commit to a pattern, the preview in the editor shows you a few things that are worth paying attention to beyond the visual result. One of them is the single-stitch percentage: the proportion of stitches in the pattern that are isolated (no neighbors in the same color). A number below 5% is comfortable; that's mostly unavoidable edge transitions. Anything above 15% is a sign that the pattern will be noticeably frustrating to stitch, and it's worth adjusting the color count or running through the Digital Canvas tools before downloading.
The three preview options (if you generate all of them) also let you see how confetti density changes with color count. A 20-color version of the same photo will almost always have less confetti than a 35-color version, because the converter has fewer colors available and isolated near-matches get absorbed into the closest one. Whether the 20-color version still looks like your subject is the other half of that trade-off, and the previews let you compare directly.
Editing single stitches in the Digital Canvas
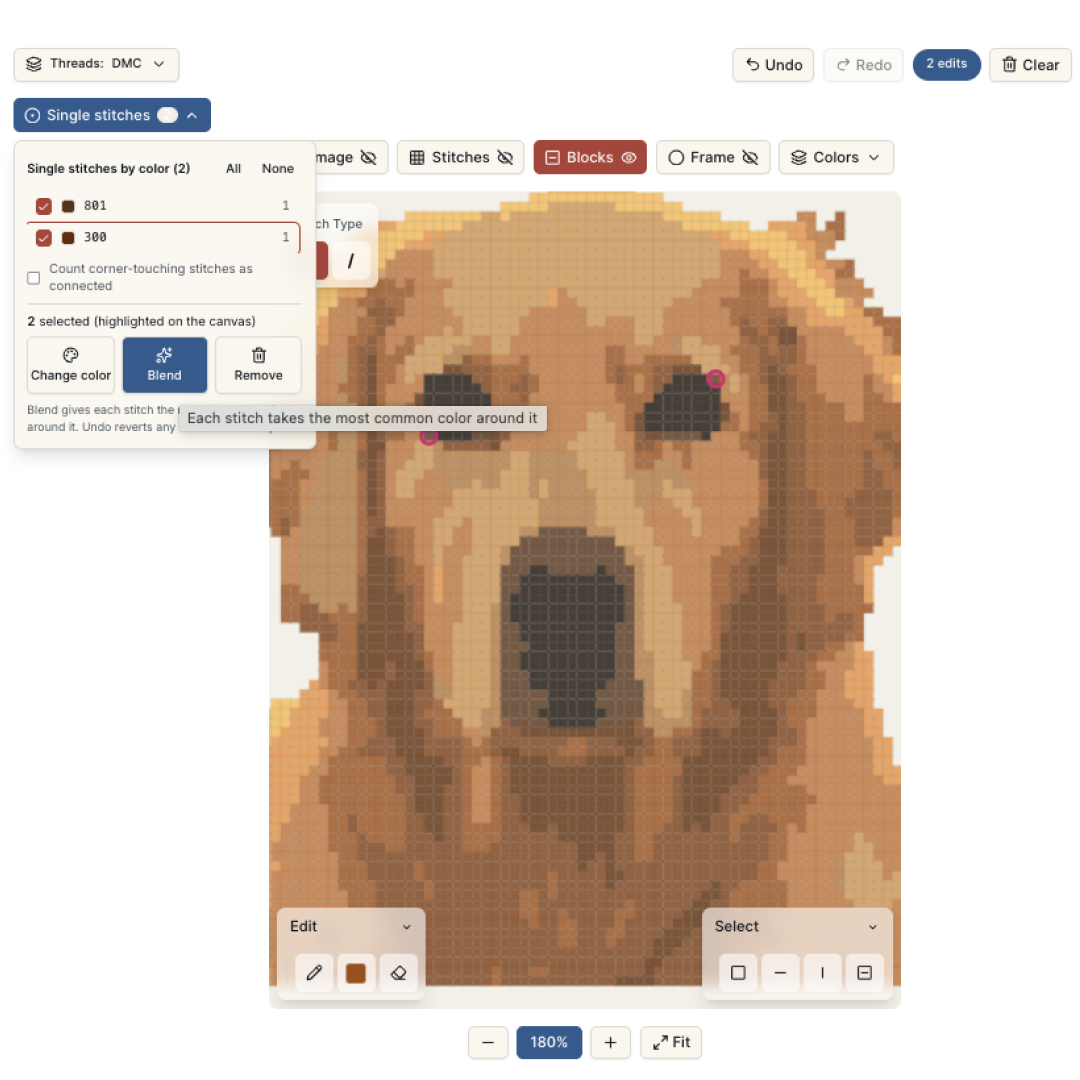
Once you've claimed your pattern and opened the Digital Canvas, you have additional manual control over individual stitches. Clicking on any single stitch in the canvas opens a small action panel showing what color that stitch currently is and giving you three options.
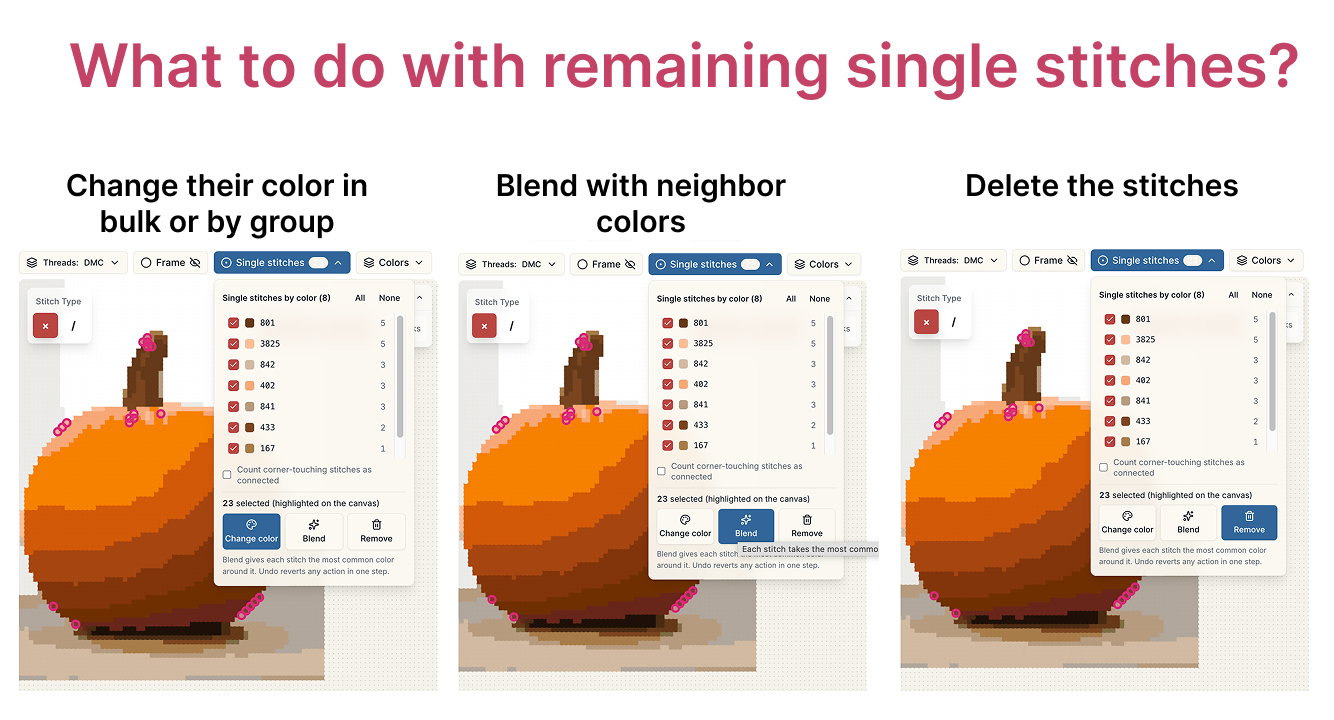
Delete removes the stitch entirely, leaving empty fabric. Use this when the stitch is genuine noise with nothing to preserve: a stray bright orange in the middle of a dark background, for instance, where no amount of detail justifies the thread change.
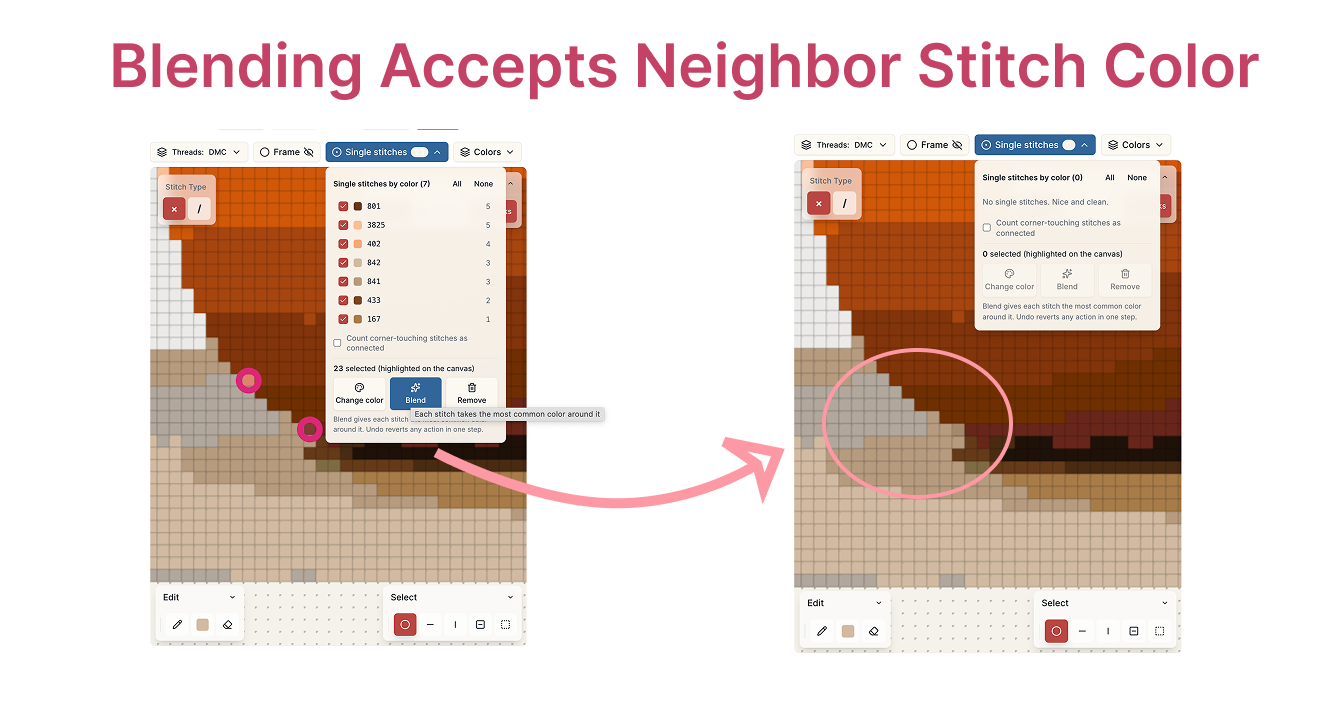
Blend is what you'll use most of the time. It replaces the stitch with the most common color in its immediate neighbors, absorbing it into the surrounding region. The shape and color distribution of the subject are unchanged; you've just closed a gap that would have required an unnecessary thread change.
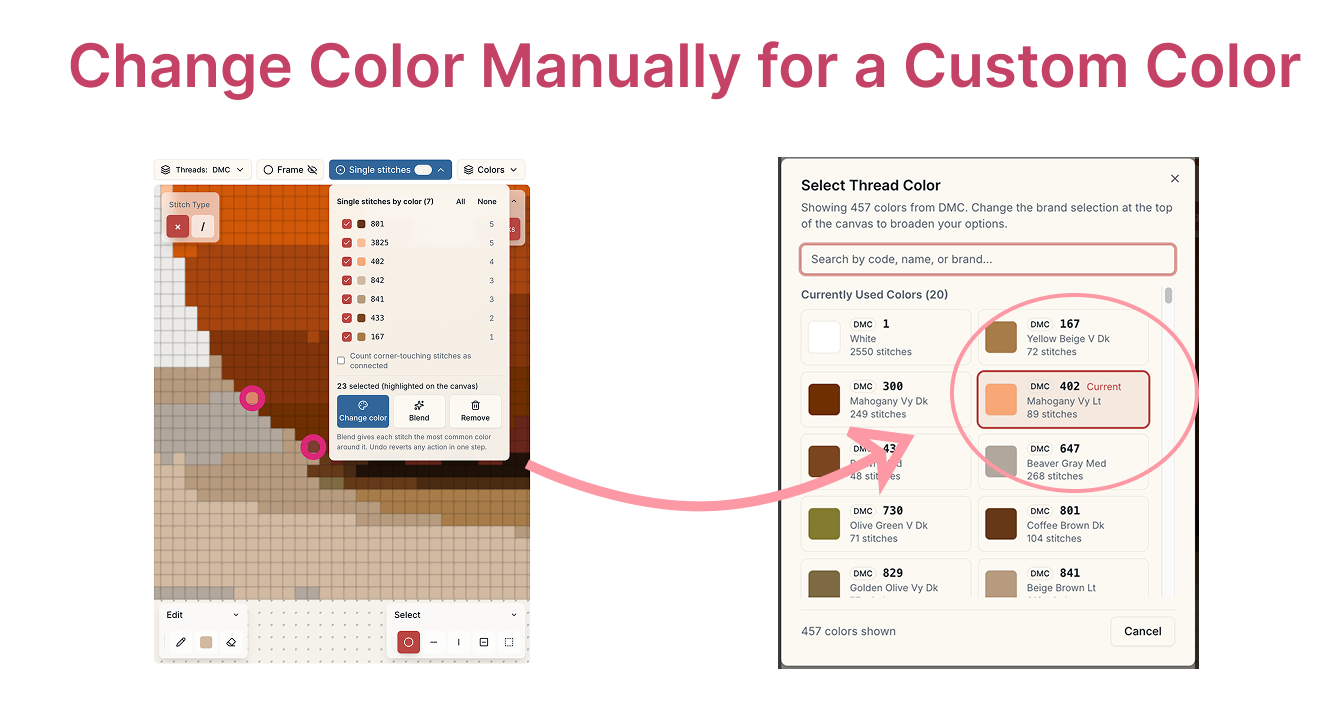
Change color is for stitches that are in a meaningful spot but assigned to the wrong color. If a stitch sits at an eye highlight or a fine edge in the subject's face, you may want to keep it but have it belong to a color already running through that area. Reassigning it removes the isolated thread change without removing the detail.
The screenshots below show all four: the dropdown as it appears on the canvas, and one example each of a delete, blend, and color-change edit.
How much manual editing is worth doing
The automatic reduction handles the bulk of it. For most cross stitch photo patterns the manual editing step is optional; the pattern is already stitchable, and the remaining single stitches are real detail worth keeping. Where it pays off is in large flat-color areas (a plain background, a blue sky, a simple fabric surface) where isolated stitches are almost always noise rather than signal.
One way to work through it: open the canvas, use the single-stitch highlight mode to see all isolated stitches at once, and blend through everything in the background and plain areas without examining each one individually. Then go back through the remaining single stitches in the subject's face and key features and decide on each one whether it's worth keeping.
Upload a photo and see your pattern's stitch statistics in the free preview.
Try it with your own photo
Upload a photo and see your counted cross stitch pattern preview — free, before you pay anything.
Try the free pattern preview