How to Turn a Photo into a Needlepoint Pattern
September 1, 2026 · Updated October 26, 2026
Needlepoint is tent stitch worked over a stiff, open-weave mono canvas, covering every intersection so the finished piece is solid stitching. A photo becomes a needlepoint pattern when each pixel-like square is assigned a real thread and you stitch those squares in continental or basketweave. In the UK the same craft is often called tapestry.
This guide is the needlepoint-focused version of that process: American terms, mesh, and stitch habits, plus the same three conversion steps. If you want to create a needlepoint pattern from a photo or convert an image to a needlepoint pattern, the steps below walk through the full workflow. To start straight away, the photo to needlepoint pattern converter has the settings in one place.
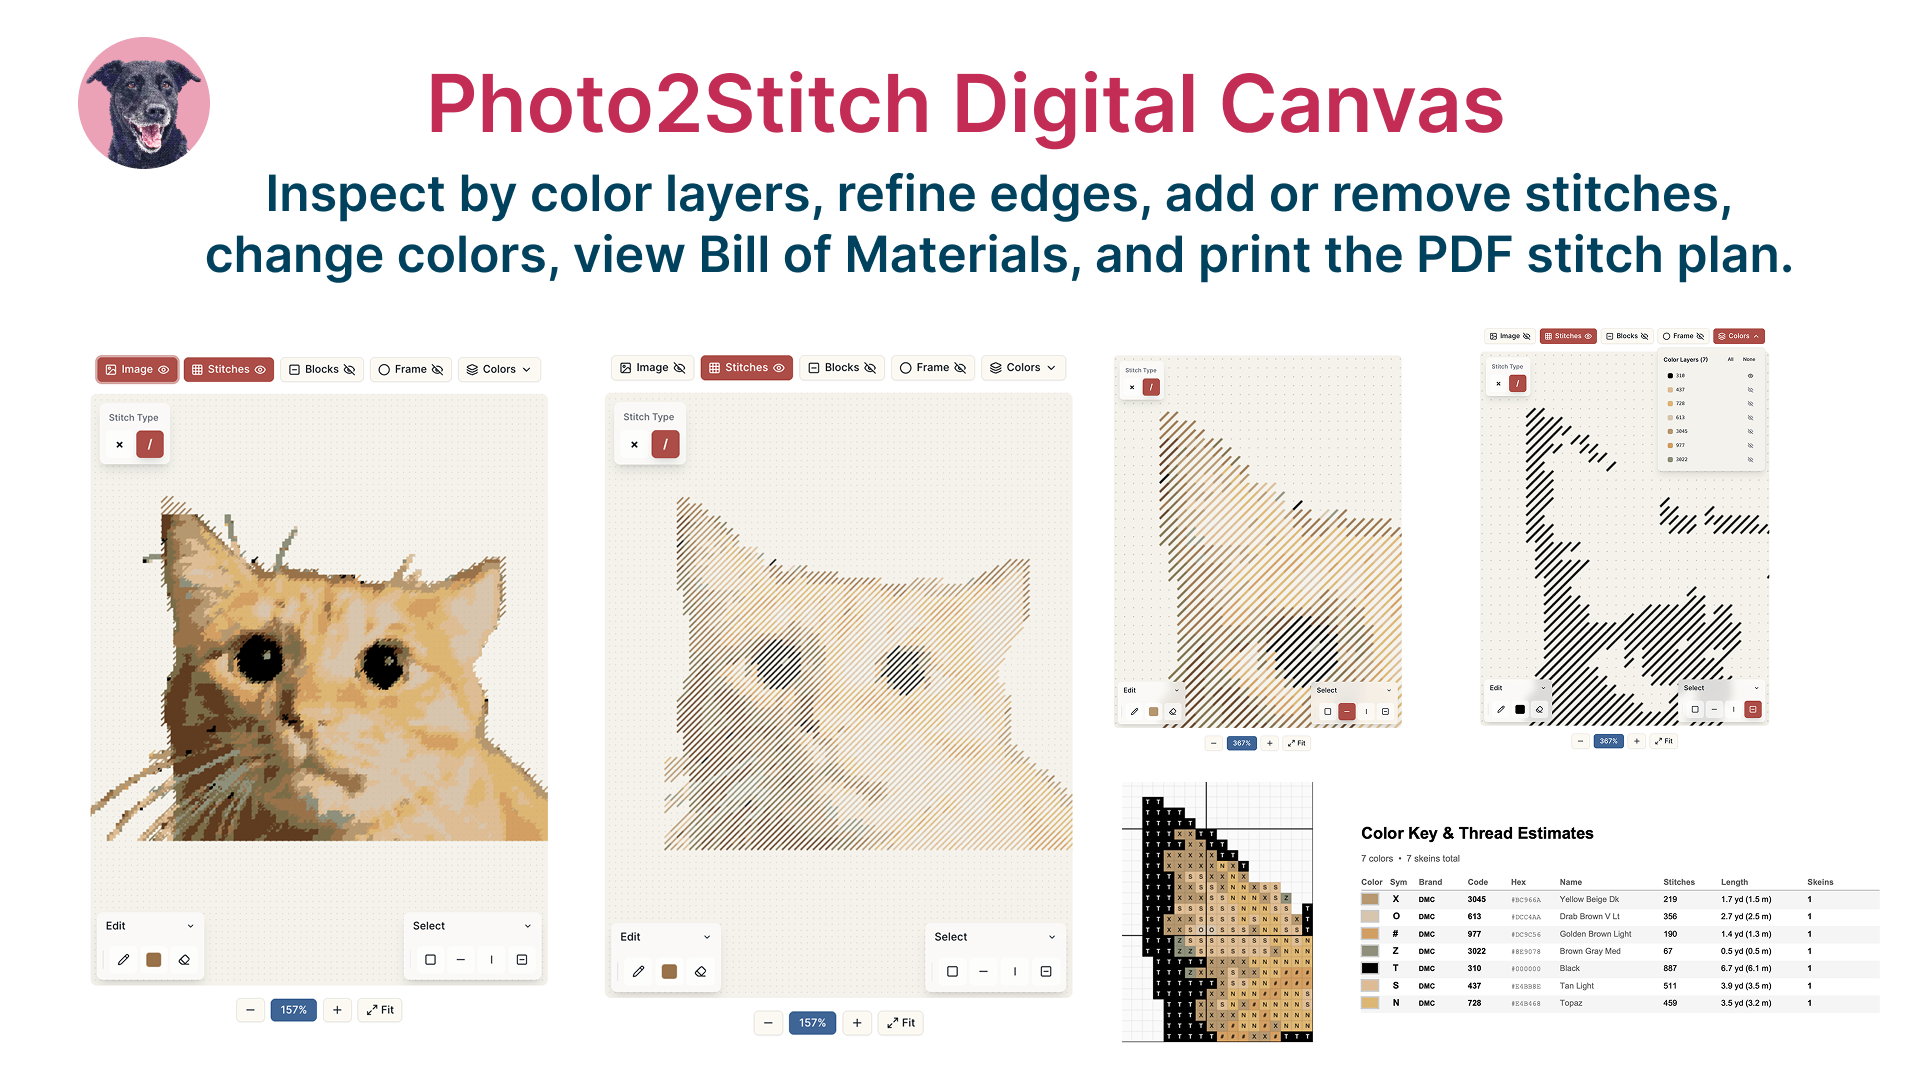
What makes needlepoint different from cross stitch
Counted cross stitch is usually full crosses on Aida. The cloth remains visible in unstitched areas (or in the gaps of a sparse design). Needlepoint is canvaswork: the ground is meant to vanish.
Practical differences when charting a photo:
- Ground. Mono canvas (and sometimes interlock) in 12, 14, or 18 mesh, not 11–18 count Aida.
- Stitch. Tent stitch — continental for small areas and compensation, basketweave for large fields so the canvas does not warp.
- Fibre. Tapestry wool, Persian wool, or stranded cotton, depending on mesh. Wool on 12 mesh covers fast; cotton on 18 mesh keeps finer facial detail.
- Coverage. Every hole is filled, so photographs (especially faces and pets) read as a continuous image rather than an X-grid.
The umbrella term for this family of techniques is canvaswork.
Charting a photo or image for needlepoint
Upload a photo or picture in the pattern editor, set canvas size and colour count, and the converter builds a counted chart with thread codes. Because needlepoint covers the canvas completely, slightly larger stitches still look photographic from a few feet away — which is why 12 mesh cushions work even when the stitch count is lower than a same-size Aida piece.
Mesh choice in brief:
| Mesh | Typical use | Fibre |
|---|---|---|
| 12 | Cushions, belts, larger decorative | Tapestry / Persian |
| 14 | Most portraits and pet photos | Wool or cotton |
| 18 | Small framed pieces, finer features | Stranded cotton |
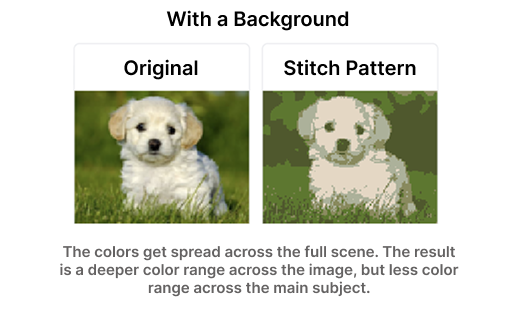
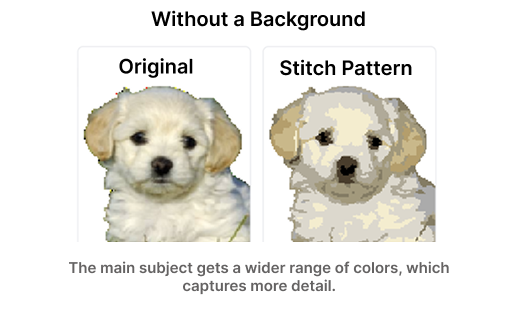
A transparent-background PNG (subject isolated) keeps the colour budget on fur, skin, and eyes instead of a busy room.
How conversion works (three steps)
1. Upload and customise

Crop so the subject fills the frame. Needlepoint does not reward tiny figures in a large scene: at 12 mesh those figures become a handful of tent stitches. Adjust brightness and contrast if the photo is dull. Choose 2–50 colours and mono canvas.
At this stage you typically:
- Upload JPG, PNG, or WebP
- Crop and rotate
- Adjust brightness, contrast, and saturation
- Set colour count
- Select mono canvas and mesh
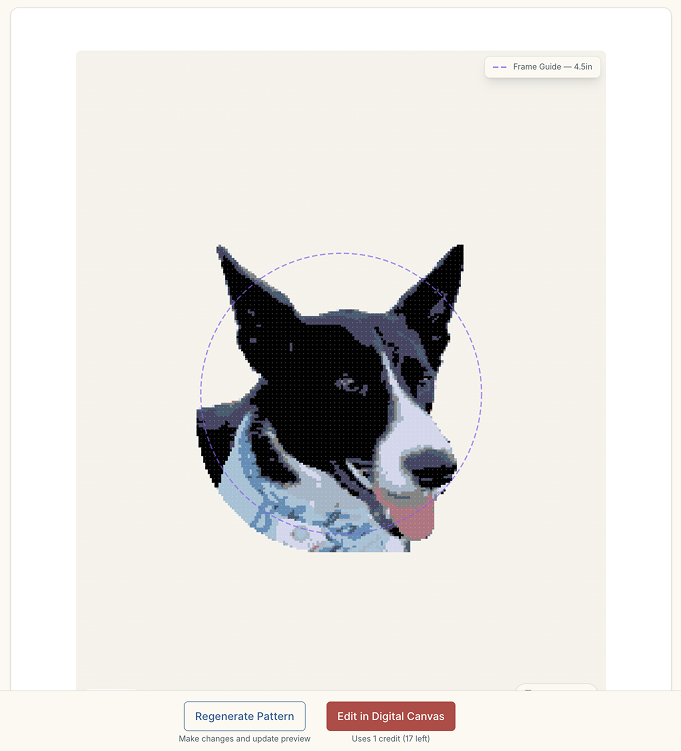
2. Generate a pattern preview
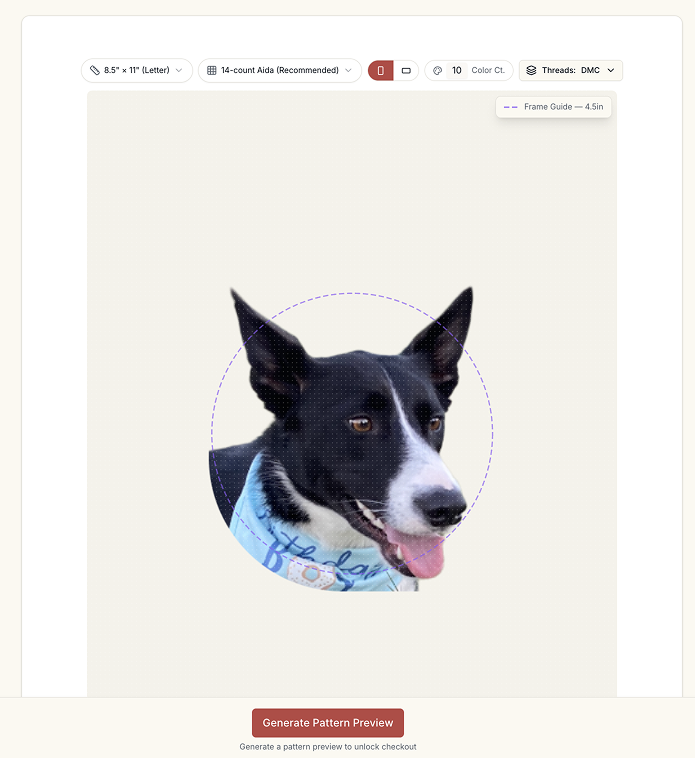
Colour quantization reduces the photo to your palette. Each remaining colour is matched to DMC or Anchor (or used as a shopping guide if you stitch in wool and match by eye). Confetti reduction removes isolated one-stitch specks — those are especially annoying in tent stitch, because you break the basketweave rhythm for a single continental stitch.
The preview is the moment to check:
- Does the face or pet still resolve at your mesh?
- Are large areas stitchable in basketweave blocks?
- Is the palette too noisy for wool (which has fewer close shades than floss)?
Wool palettes are coarser than embroidery floss. If you plan to stitch in wool, a lower colour count (often 15–25) usually charts more honestly than 40 near-identical DMC greys.
3. Work on the digital canvas
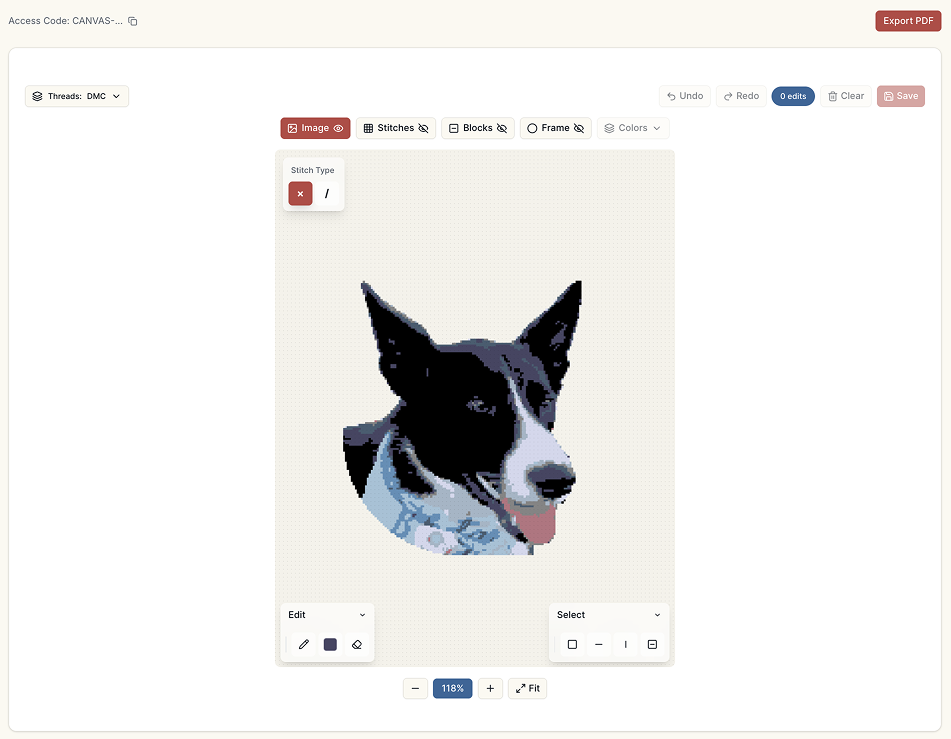
On the digital canvas you can edit stitches, swap a colour across the piece, inspect layers, and read a bill of materials. For needlepoint it is worth using this pass to join tiny specks into neighbouring fields so you can stay in basketweave on the big areas (sky, walls, sweaters, fur masses).
Also useful:
- Zoom for compensation stitches at edges
- Check quantities if you are buying wool by skein rather than floss by colour number
- Export a printable chart and colour key
Needlepoint-specific notes for photos
- Basketweave on large dark areas (hair, jackets) keeps the canvas square; continental-only on a big field will bias the canvas.
- 12 mesh + wool is a good match for decorative pillows from a simple, high-contrast photo.
- 18 mesh + cotton is closer to a photographic miniature; treat colour count more like cross stitch (20–30 for portraits).
- Stitch over one intersection unless you are deliberately using a decorative canvas stitch; photo charts assume a 1:1 square grid.
Quick facts
- Tent stitch on mono canvas (12 / 14 / 18 mesh)
- Same charting pipeline as tapestry; different name and stitch tradition
- 2–50 mapped thread colours; fewer often better for wool
- Full coverage: the canvas should not show when the piece is finished
See also photo to tapestry (UK naming) and canvaswork.
Try it with your own photo
Upload a photo and see your counted cross stitch pattern preview — free, before you pay anything.
Try the free pattern preview