How to Turn a Photo into a Tapestry Pattern
September 1, 2026 · Updated October 26, 2026
A photograph can be charted as a tapestry pattern: each stitch is a square of colour, worked in wool or cotton over a stiff open-weave canvas until the fabric disappears. The finished surface reads like a small woven picture. This guide covers what “tapestry” means in this context, how a photo or image is turned into a chart, and the three stages of conversion. The same process applies whether you want to turn a picture into a tapestry canvas or convert a photo to a tapestry pattern from scratch, and the photo to tapestry converter does the charting for you.
Tapestry vs needlepoint: the same craft
What UK stitchers call tapestry is what US stitchers call needlepoint: tent stitch (continental or basketweave) over a mono canvas, covering every intersection. It is not the same as a woven wall hanging, even though the word is shared.
Because every canvas hole is filled, photo subjects hold together well at a distance. Gradients become bands of neighbouring thread shades rather than empty fabric showing through, which is the usual look of counted cross stitch on Aida. The broader family of canvas embroidery is often called canvaswork.
How to make a tapestry from a photo
In the pattern editor, a photo is cropped, a canvas size is chosen, and a colour count is set. The converter produces a counted chart: each square maps to a real thread code. Tapestry wool on coarser mesh covers quickly; stranded cotton on finer mesh keeps more of the photograph’s edges.
Mono canvas in 12, 14, or 18 mesh covers most projects:
- 12 mesh — cushions and larger pieces in tapestry wool; stitches are easy to see.
- 14 mesh — a practical middle for portraits and pets.
- 18 mesh — finer framed work, closer to the detail of 18-count Aida, but still a fully covered canvas.
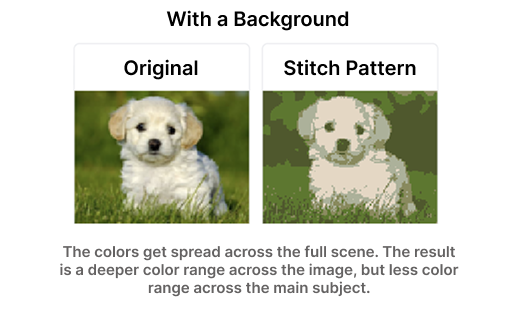
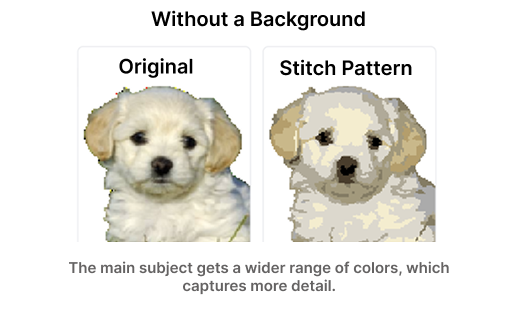
A JPG, PNG, or WebP will convert. A PNG with a transparent background is usually cleaner: colour budget is spent on the subject, not on a sofa or a hedge.
How conversion works (three steps)
The process is the same as other counted crafts on Photo2Stitch. The settings that change for tapestry are canvas type (mono) and mesh.
1. Upload and customise

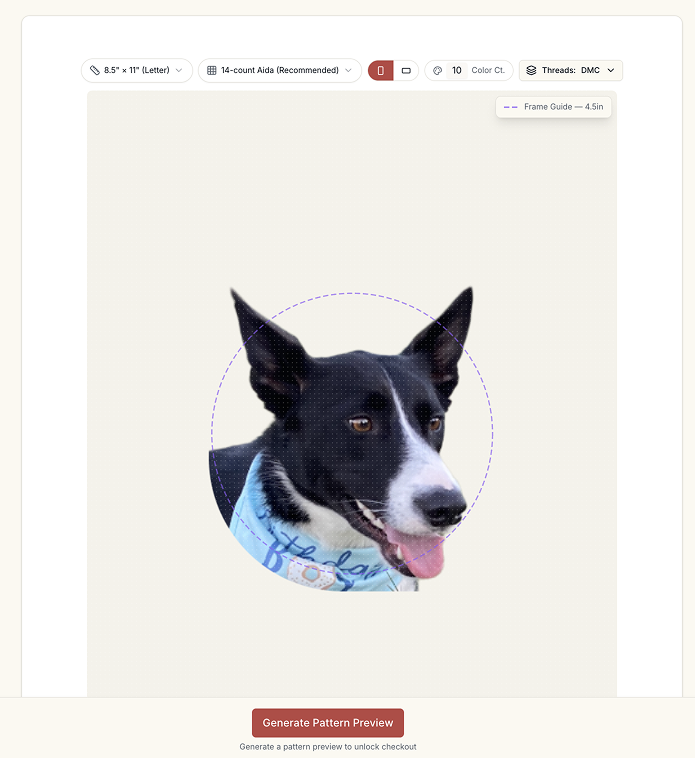
Upload the photo, then crop and rotate so the subject fills the frame. Brightness, contrast, and saturation can be adjusted here; a slightly stronger contrast usually charts more clearly than a flat snapshot. Choose 2–50 thread colours and mono canvas at 12, 14, or 18 mesh.
Typical controls at this stage:
- Drag-and-drop or click to upload
- Crop and rotate
- Brightness, contrast, and saturation
- Colour count
- Canvas type and mesh
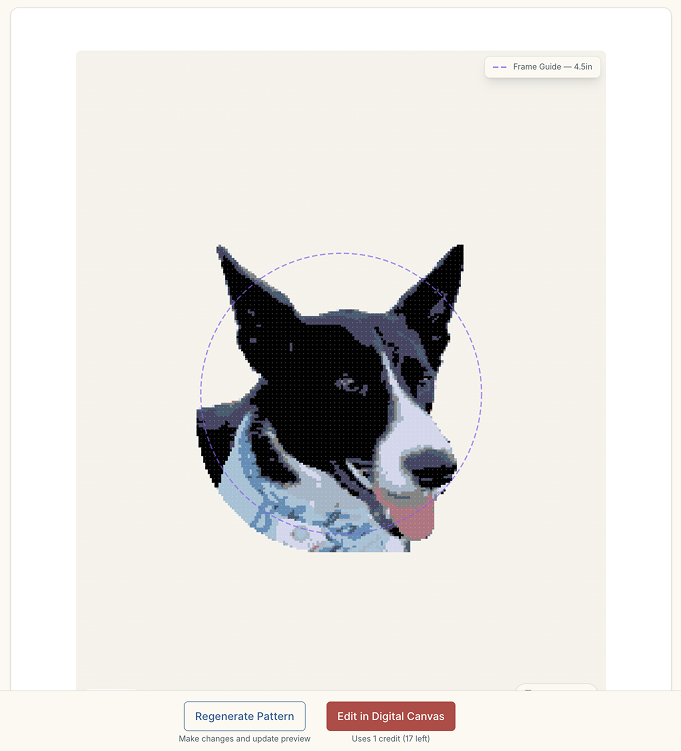
2. Generate a pattern preview
The image is reduced to the chosen number of colours (colour quantization), then each colour is matched to a real DMC or Anchor thread using a colour-difference calculation. A confetti-reduction pass merges isolated single stitches into neighbouring blocks so the chart is practical to stitch, not a scatter of one-off squares.
What the preview shows:
- The photo as a grid of thread colours
- How mesh and colour count affect recognisability
- Whether the subject still reads after flattening
If it does not look like the photo, the usual order of changes is: crop tighter, raise contrast, then move the colour count up or down.
3. Work on the digital canvas
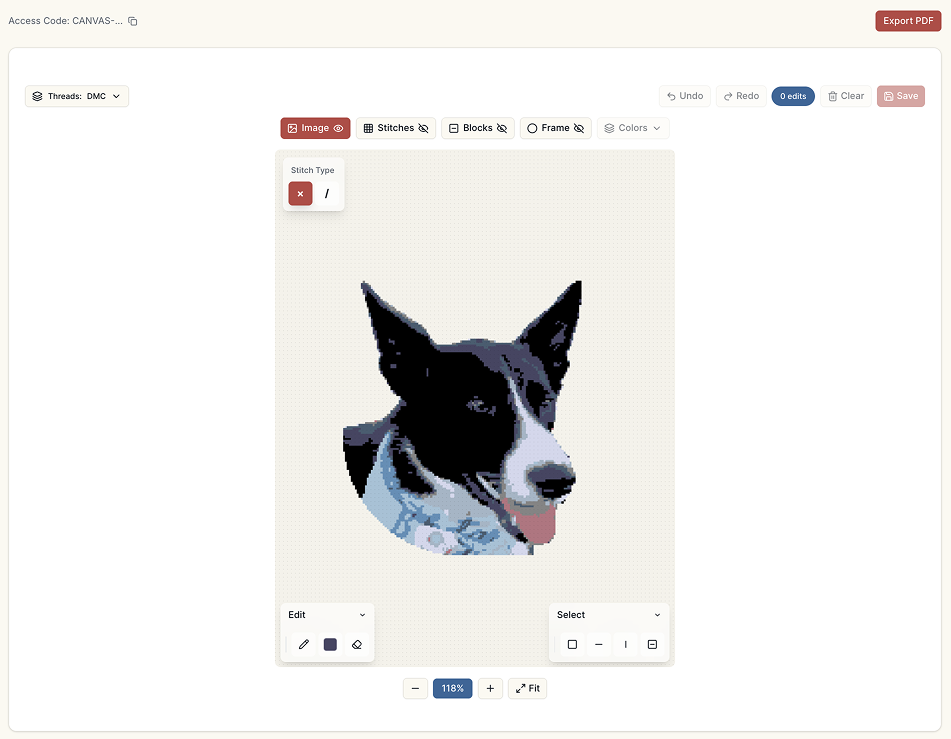
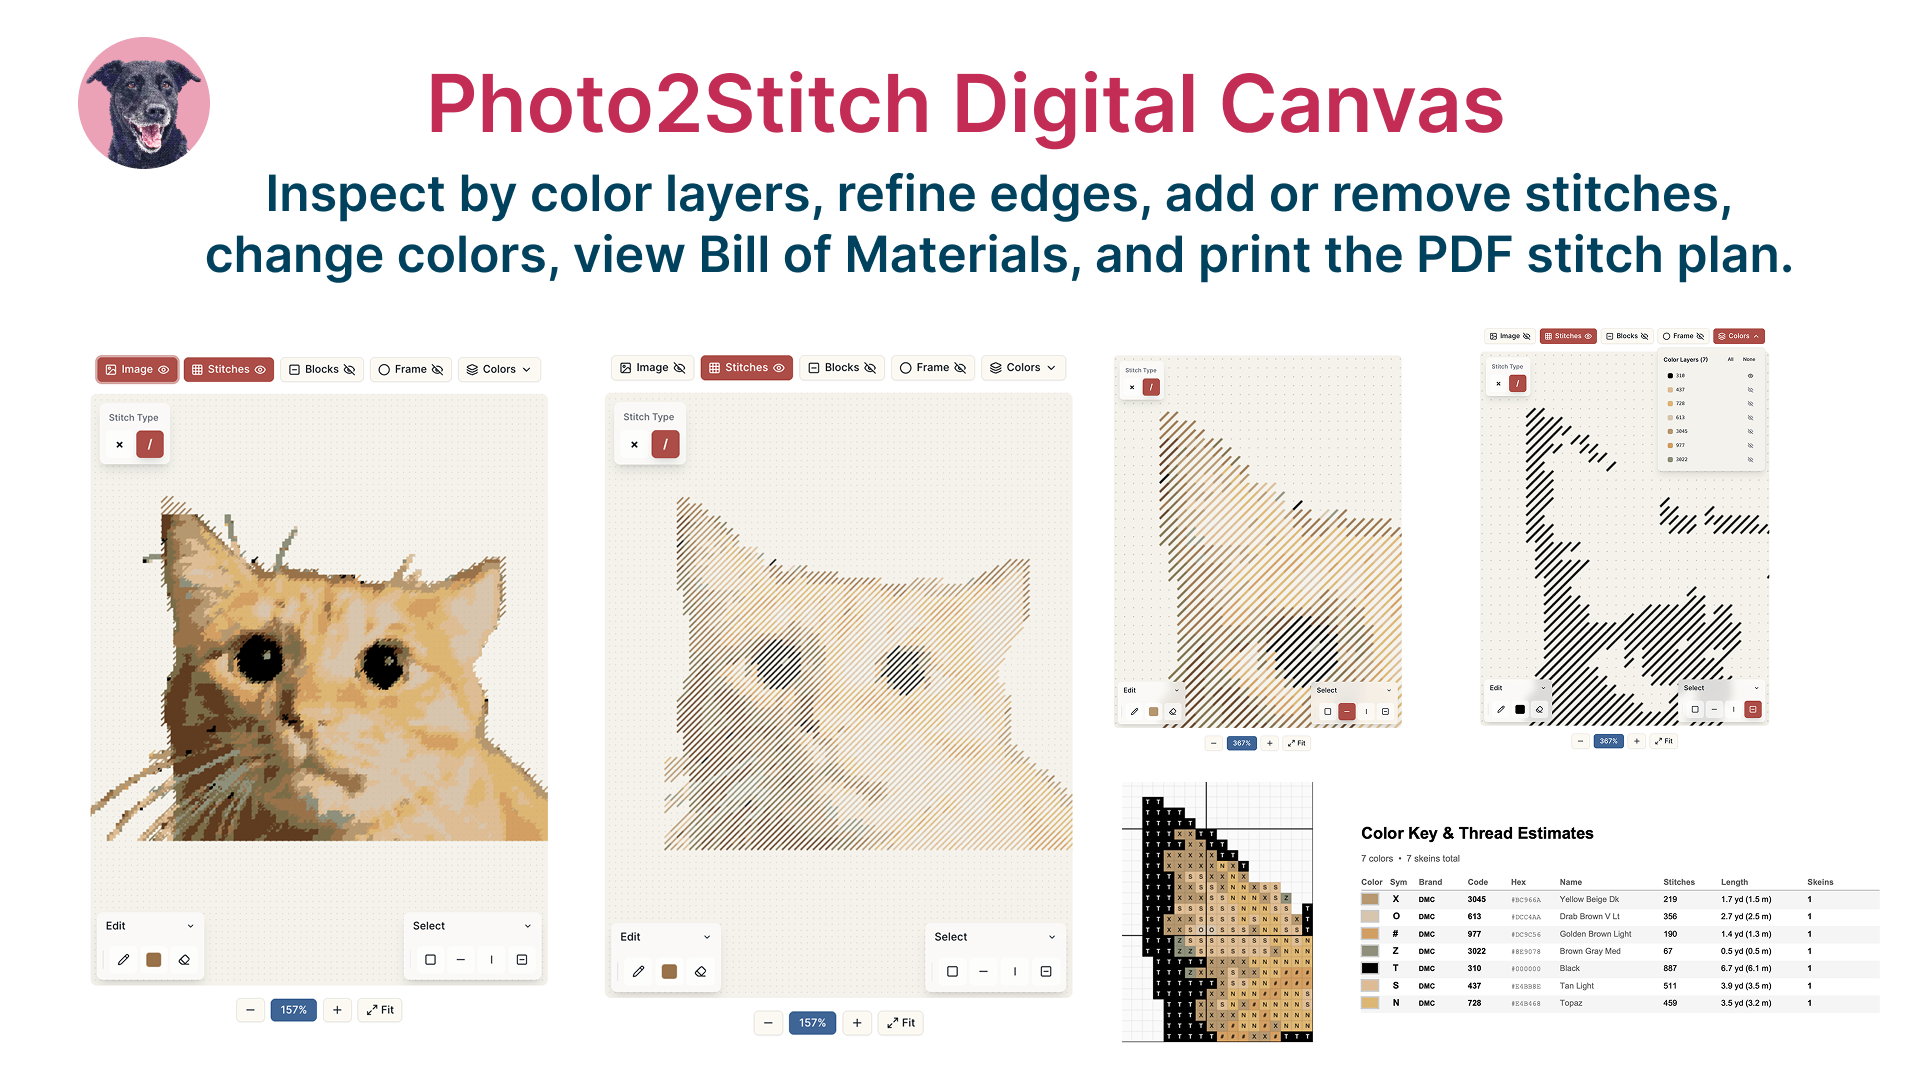
The digital canvas is the editable chart: zoom and pan, change individual stitches, swap a shade everywhere it appears, hide or show colour layers, and read a bill of materials with thread codes and quantities. A printable chart and colour key come from the same document.
Useful once the preview is close:
- Edit stray stitches and tidy edges
- View the pattern by colour
- Check thread quantities before buying wool or cotton
What a tapestry chart includes
A usable tapestry pattern from a photo typically includes:
- A square-by-square colour chart
- A key matching symbols or colours to thread codes
- Estimated lengths so you can buy skeins without guessing
- Canvas guidance for 12, 14, and 18 mesh
Colour counts in the 20–30 range suit most portraits; 10–15 suits bold, high-contrast crops; 40+ only helps on a large, fine grid.
Quick facts
- Any JPG, PNG, or WebP: portraits, pets, houses
- 2 to 50 colours mapped to real thread codes
- Mono canvas: 12, 14, or 18 mesh
- Full coverage (tent stitch), not open fabric between stitches
If you have been looking for how to make a tapestry from a photo, the steps above cover the full process. The preview is free, so you can try your own image before committing.
Related guides: photo to needlepoint, photo to cross stitch, and canvaswork.
Try it with your own photo
Upload a photo and see your counted cross stitch pattern preview — free, before you pay anything.
Try the free pattern preview